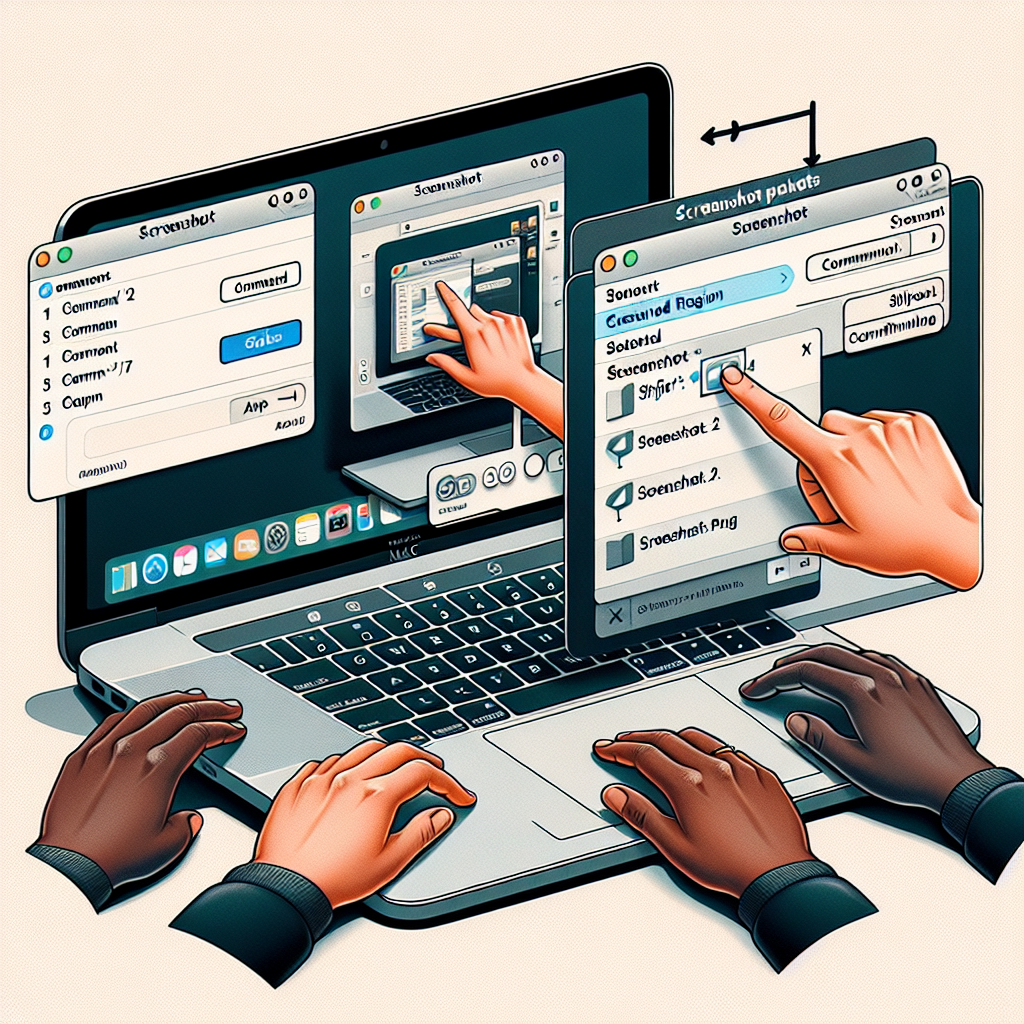
How to Capture Screenshots on Mac
Table of Contents
- Introduction
- Use Keyboard Shortcuts
- Use the Screenshot Tool
- Edit and Save Screenshots
- Organize and Print Screenshots
- Conclusion
Introduction
Capturing screenshots on a Mac is an essential skill for many users, whether you’re a tech enthusiast, a designer, or simply someone who needs to document information quickly. Screenshots are a perfect tool for explaining processes, sharing moments, and creating compelling content. In this guide, we will provide a comprehensive guide to capturing screenshots on Mac, using built-in keyboard shortcuts as well as the Mac’s Screenshot tool.
Use Keyboard Shortcuts
MacOS offers several convenient keyboard shortcuts to capture screenshots without the need for additional software. Here are the main methods:
Screenshot the Entire Screen
To capture your entire screen:
- Press Shift + Command + 3.
- This will automatically save the screenshot to your desktop as a PNG file.
Screenshot a Selected Portion
If you need to capture a specific area of your screen:
- Press Shift + Command + 4.
- Your cursor will turn into a crosshair. Click and drag to select the area you want to capture.
- Release the mouse button to capture the screen. The image will be saved to your desktop as a PNG file.
Screenshot a Specific Window
To capture a specific window:
- Press Shift + Command + 4, then press the Spacebar.
- Your cursor will turn into a camera icon. Hover over the window you want to capture and click.
- The screenshot will exclude the desktop background and other windows, saving only the selected window to your desktop.
Use the Screenshot Tool
Beyond keyboard shortcuts, macOS provides a Screenshot tool that offers more options for capturing images.
- Press Shift + Command + 5 to open the Screenshot app.
- The toolbar provides options to capture the whole screen, a window, or a selected portion.
- You can also record your screen if needed.
Edit and Save Screenshots
After taking a screenshot, macOS provides tools to edit and save the images according to your needs.
Edit Screenshots
Once you’ve taken a screenshot, a thumbnail will appear in the corner of your screen:
- Click the thumbnail to open the screenshot. You can annotate it using the provided tools in the preview window.
- Add text, shapes, signatures, and more to your screenshot.
Save Screenshots
Screenshots are automatically saved to your desktop by default. To change the save location:
- Use the Screenshot tool (Shift + Command + 5) and click on “Options”.
- Select a new save location from the menu or create a new folder to organize your screenshots efficiently.
Organize and Print Screenshots
Managing your screenshots effectively can help maintain productivity and enhance your workflow.
- Create dedicated folders to categorize screenshots based on projects or dates.
- Use naming conventions to identify screenshots quickly.
- To print a screenshot, open it in Preview and select “File” → “Print”.
Conclusion
Taking screenshots on a Mac is a straightforward process thanks to the powerful built-in tools. Whether you need to capture the entire screen, a specific window, or a chosen portion, Mac provides efficient ways to do so. Once you’ve mastered these techniques, capturing and utilizing screenshots will become an invaluable part of your daily tasks.
If you’re also interested in downloading entire landing pages or capturing landing page content, consider using a landing page download tool like the Landing Page Ripper Chrome extension. This software will allow you to save full landing pages, aiding in web development and design projects.


